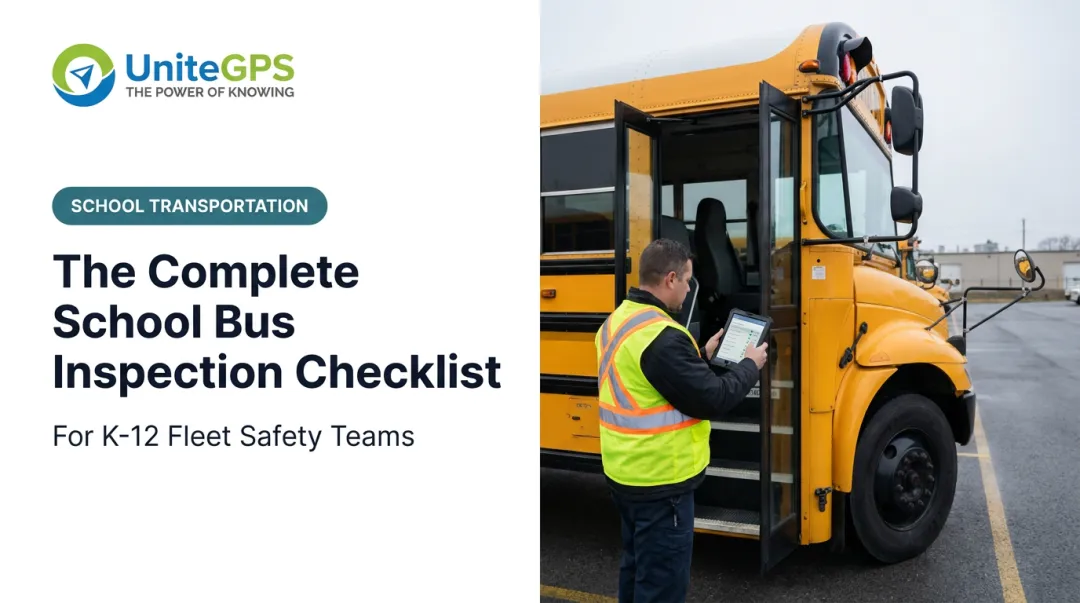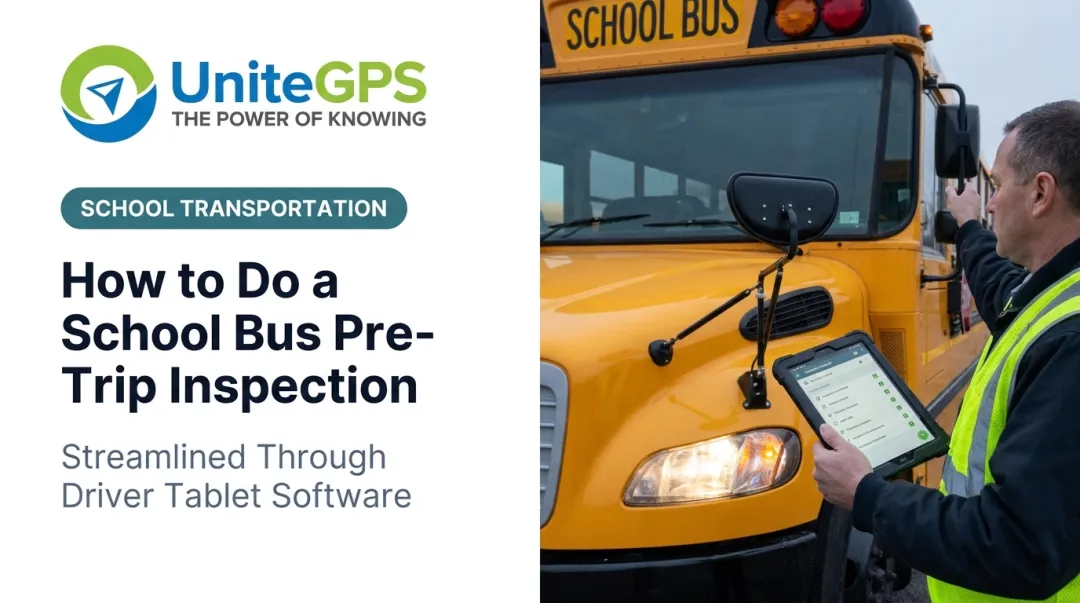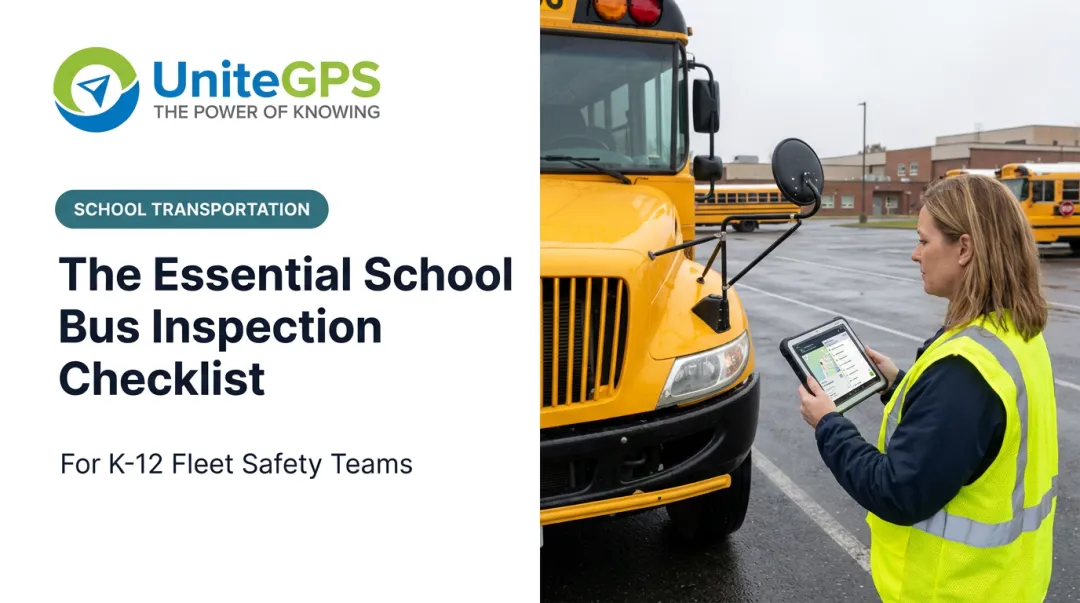
This guide walks through a complete school bus inspection checklist: engine compartment, exterior lights and tires, interior safety equipment, and brakes. It also covers how to interpret what you find, and where state-specific rules layer on top of federal requirements so your district stays compliant year-round.
TL;DR
- Federal 49 CFR rules require driver checks and mechanical inspections; state law covers school bus exemptions
- Pre-trip inspections cover the engine, exterior lights, interior safety gear, driver controls, and brakes
- Results fall into three buckets: pass, minor deviation to monitor, or out-of-service (grounds the bus)
- Common mistakes: rushing ("pencil whipping"), skipping between dual tires, and misreading gauges
What You Need to Check a School Bus
Having the right tools and a fixed sequence prevents missed items, especially when a driver is racing the clock before a route.
Tools and Indicators Required
Keep these on hand for every inspection:
- Tread depth gauge and tire pressure gauge
- Flashlight for under-hood and under-carriage checks
- Wheel wrench for lug nut inspection
- DVIR form or a digital checklist app
- Dipstick and clear access to fluid reservoirs
Watch these indicators during the check:
- Dash warning lights
- Air pressure gauge (for air brake systems)
- Voltmeter
- Oil pressure gauge
Preconditions and Setup
- Inspect the engine compartment cold, before startup, on level ground
- Confirm lighting is strong enough to check between dual tires and verify mirror alignment
- Pull the previous inspection report and DVIR so you can flag recurring or unresolved defects
Step-by-Step School Bus Inspection Checklist
Move through inspections in a fixed sequence: engine compartment, exterior, interior, driver controls, then brakes. That order keeps items from getting skipped under time pressure.
Engine Compartment Check
This step catches fluid leaks and worn components before they cause a mid-route breakdown.
Tools needed: dipstick, flashlight
- Check oil, coolant, power steering, and brake fluid levels against MIN/MAX marks
- Squeeze hoses and flex belts, checking for cracking, glazing, or sponginess
- Inspect battery terminals for corrosion and look underneath the bus for fresh leaks
The catch: this section only works if done before the engine warms up. Skip that window and you'll miss cold-start leaks entirely.
Exterior and Signal Check
This confirms lights, mirrors, tires, and the stop arm all function correctly.
Tools needed: tread depth gauge, tire gauge, lug wrench
- Walk clockwise from the driver's door, testing headlights, turn signals, the full warning light system, and all mirrors for secure mount and clear view
- Test stop arm extension/retraction and crossing gate operation
- Check tread depth (4/32 inch minimum on steer tires, 2/32 inch minimum on other axles), measured away from tie bars and humps, per federal tire regulations
- Inspect for sidewall damage or loose lug nuts
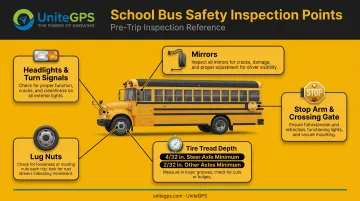
This is thorough but time-consuming when done right. Rushing or skipping it is a common path to preventable roadside failures.
Interior Safety Check
This verifies the passenger compartment and emergency equipment are ready for students.
Tools needed: flashlight (optional for under-seat checks)
- Check steps, handrails, and seat condition for damage or tripping hazards
- Test all emergency exits (rear door and windows) and confirm buzzers sound
- Verify the fire extinguisher is charged, and that the first aid kit and body fluid cleanup kit are stocked and in date
This section is easy to rush. It requires walking the full aisle, not just glancing from the front.
Driver Controls, Gauges, and Brake Test
This confirms engine performance indicators and brake integrity before departure. This is the most important step on the list.
Tools needed: running engine, air pressure gauge (if applicable), yard space for a moving brake check
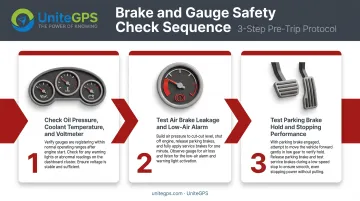
- With the engine running, confirm oil pressure, coolant temperature, and voltmeter read within normal range
- For air brakes, test for leakage, confirm the low-air alarm triggers, and check the spring brake pops out correctly
- Test parking brake hold and service brake stopping performance at low speed. The bus should stop straight, without pulling, skidding, or dragging
Brake defects account for a large share of out-of-service violations. Never skip or shortcut this step.
How to Interpret Inspection Results
Misreading a result means one of two bad outcomes: sending an unsafe bus onto the road, or unnecessarily grounding a bus that's actually fine.
| Result | What it looks like | Action |
|---|---|---|
| Normal/Acceptable | Fluids in range, tread above minimum, all lights and brakes functioning | Cleared to run the route |
| Minor Issue | Slightly dim bulb, minor fluid top-off needed | Log it, monitor it, schedule repair |
| Out of Service | Any brake defect, tread below minimum, non-functioning stop arm, warning light that won't clear | Pull the bus until repaired and retested |
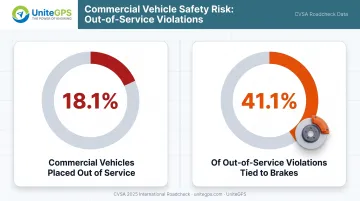
For scale: during CVSA's 2025 International Roadcheck, 18.1% of the commercial vehicles inspected were placed out of service, and brake-related violations made up 41.1% of those out-of-service findings.
That's across all commercial vehicles, not school buses specifically, but it underscores why brakes get the most attention on any inspection checklist.
Common Errors in School Bus Inspections
These mistakes show up repeatedly in fleet audits and driver training reviews:
- Rushing ("pencil whipping") — signing off on a checklist without physically testing each item
- Skipping hard-to-reach spots — between dual tires and at crossover mirrors
- Misreading gauges — mistaking a normal cold-start reading for a fault, or ignoring a warning light that "usually goes away"
- Delayed reporting — a written defect note that sits unreviewed for days instead of reaching maintenance immediately
Left unchecked, any of these turns a minor defect into a roadside failure or a failed state inspection.
Safety Best Practices and Staying Inspection-Ready
A few habits separate fleets that stay compliant from ones that scramble during an audit:
- Documented inspection folder per bus (digital or paper) covering the last 12 months of reports and DVIRs
- Zero tolerance for critical defects. Never run a bus with an active brake, steering, or tire issue. Treat grinding brakes or a soft pedal as immediate action items, not notes for later
- Close the defect loop fast. Pair daily inspections with fleet-wide visibility so "defect reported" becomes "defect fixed" without delay
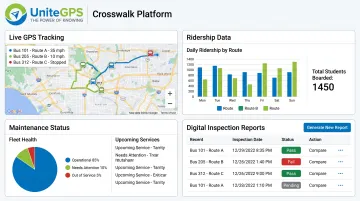
UniteGPS's Crosswalk platform supports that loop in practice. Drivers complete digital pre-trip and post-trip inspections through the Tablet Suite, attach photos of issues like cracked glass or worn tires, and route those reports straight to maintenance on mobile devices or shop screens.
GPS updates every 5 seconds and ridership data sit with those reports, so transportation directors see route readiness and maintenance status in one place instead of piecing it together from paper forms and separate systems.
Consistent inspections, clear documentation, and quick action on defects keep a fleet compliant and safe for the students who ride every day.
Frequently Asked Questions
What is the school bus pre-trip inspection checklist?
It covers the engine compartment, exterior lights, tires, stop arm, interior safety equipment, and driver controls and brakes. A thorough check takes real time. Rushing it in a couple of minutes means skipping critical safety items.
How often are school buses inspected in Pennsylvania?
Pennsylvania requires an annual Pennsylvania State Police inspection plus a semiannual state safety inspection, on top of daily driver pre-trip checks. Confirm current requirements with PennDOT, as rules can change.
What are the school bus inspection laws in South Carolina?
South Carolina requires an annual inspection for public, leased, and qualifying private school buses, and permits additional inspections at any time. Confirm exact intervals with the SC Department of Education Transportation office.
What happens if a school bus fails inspection?
A bus with a serious safety defect (brake failure, non-functioning stop arm, or tread below minimum) is placed out of service. It cannot legally operate until repaired and re-inspected.
How long should a proper pre-trip inspection take?
Long enough to finish and document every required check—not a fixed stopwatch time. An inspection wrapped up in two or three minutes is almost certainly skipping steps that matter.
Are pre-trip inspections legally required?
Yes. Federal rules require drivers to confirm safety equipment is in good working order, and most states add school bus-specific requirements on top of that baseline.