By Christopher Bunnell, August 18, 2026
A plain-language look at how the top school transportation platforms handle the driver's pre- and post-trip vehicle inspection, the walk-around a driver does before and after a route. This describes what each system does and what it costs, not which is "best." Bracketed numbers refer to the numbered references at the end of the document. Every capability claim is footnoted to that company's own website; pricing and customer sentiment, which the vendors do not publish, are footnoted to third-party sources and labeled accordingly. Where a vendor's page confirms the product but not a specific detail, that detail is marked "not documented publicly."
| Platform | How the inspection works | Matches the district's own form? | Do defects reach the mechanic? | Extra hardware to install? | Separate charge or included? |
|---|---|---|---|---|---|
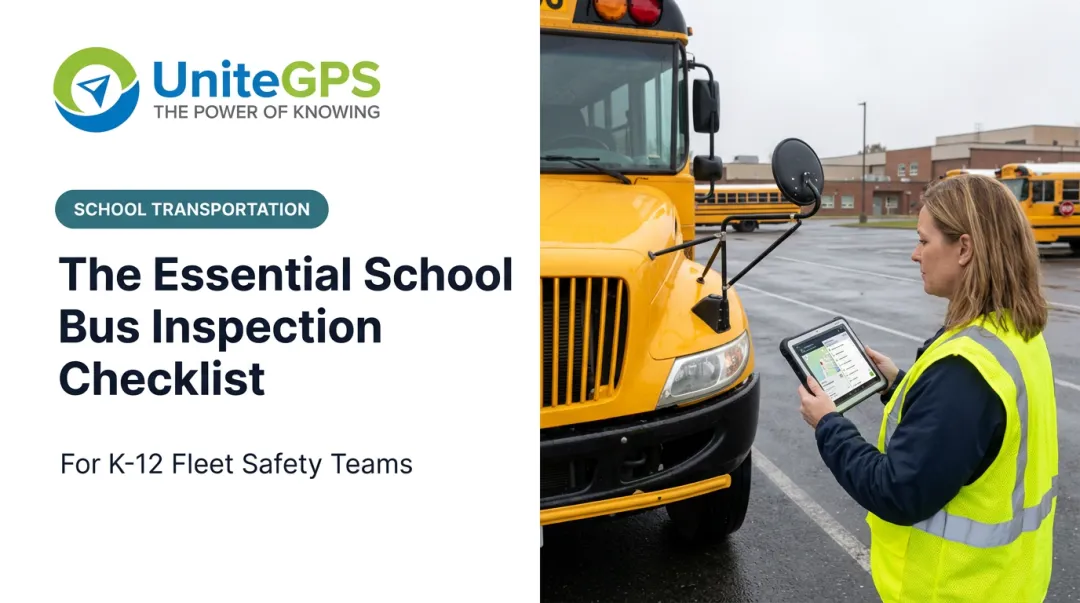
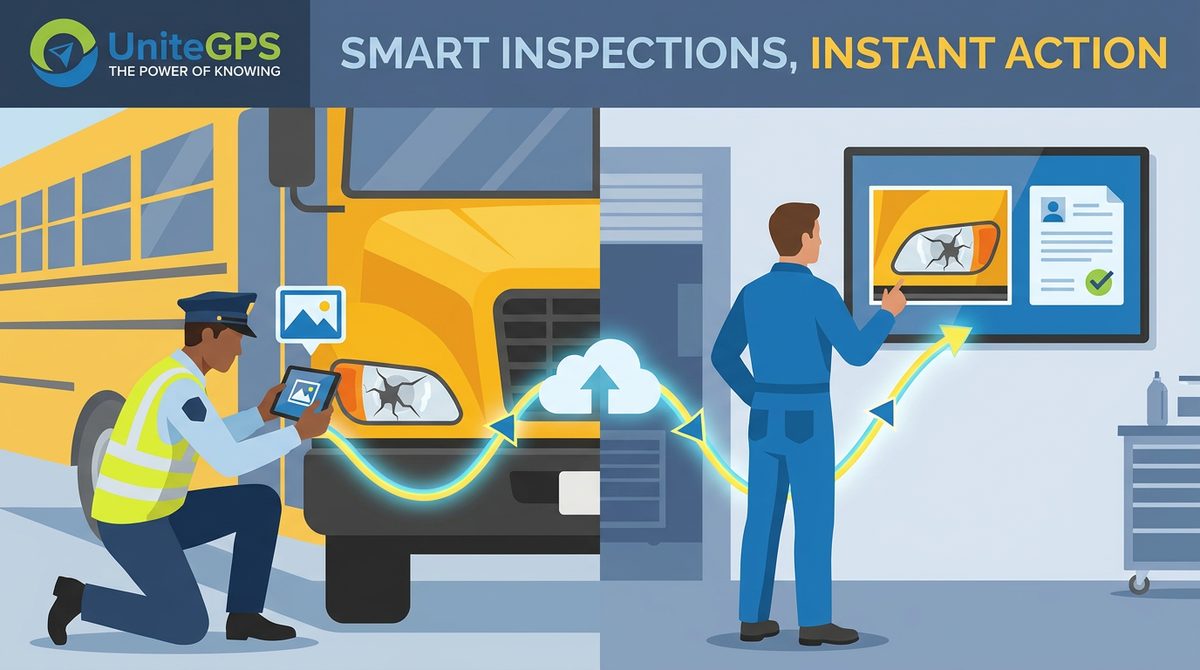
| UniteGPS | A checklist on the driver's tablet; the driver photographs any problem they find. [21] | Yes — set up to match the district's existing inspection form. [21] | Yes — report and photos route to the in-house mechanic app and to a monitor inside the garage. [21] | Just the tablet, also running navigation and ridership; no inspection-only hardware. [21] | Included with the tablet package; no separate inspection fee. [21] |
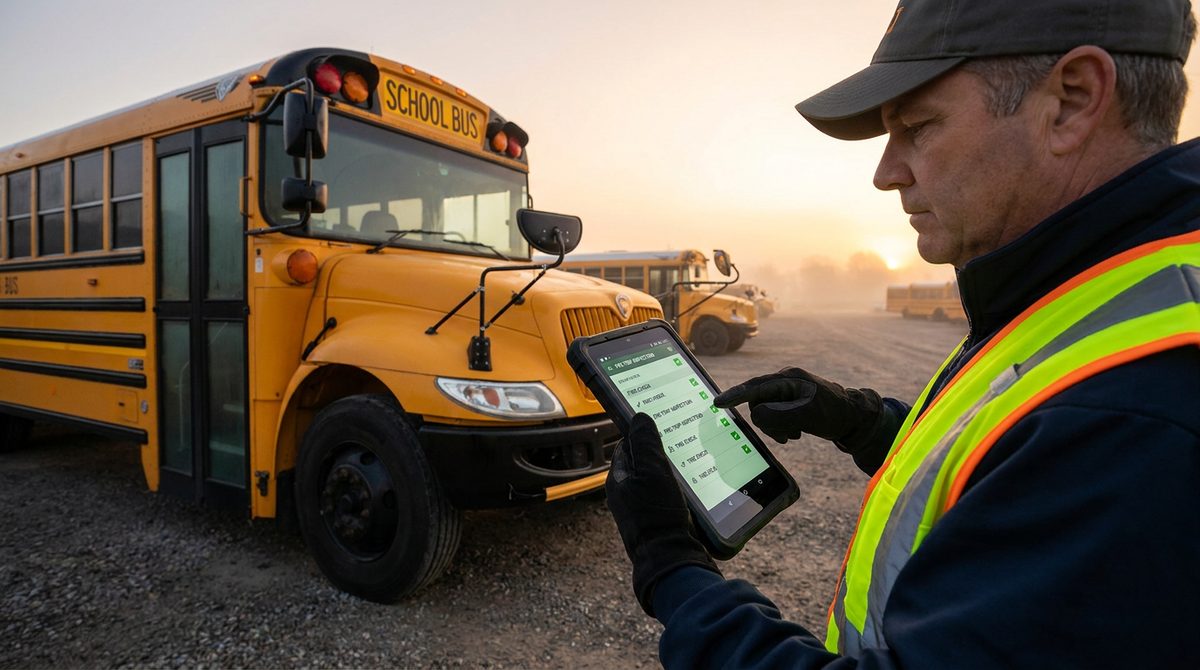
| Zonar | Scannable tags are fixed in each zone of the bus; the driver taps each tag to record they physically walked to it, then completes the check on a handheld, tablet, or phone. Photos supported. [1][2] | Configurable checklists. [1][4] | Yes — results post to an online dashboard; items can become work orders and feed maintenance software. [1][5] | The most hardware-heavy option: tags installed on every bus, plus a scanning device. [1][2] | Sold as its own product — quote-based per vehicle per month, plus hardware, usually on a 3–5 year contract. [22][23][24] |
| Samsara | A checklist in the driver app on any phone or tablet; photos supported. [6] | Customizable templates. [7] | Yes — defects flow to Samsara's maintenance module. [8][9] | None for the inspection itself; a vehicle gateway is needed for live GPS. Built for general fleets, not schools specifically. [6] | Part of the Samsara platform; the deeper maintenance module costs extra. [6][9] |
| Tyler | One function of the on-board tablet, alongside student ridership and driver timekeeping. [10][11] | Not documented publicly. [11][12] | A separate fleet-maintenance product exists; an automatic hand-off from the inspection is not documented publicly. [12] | The console tablet. [11] | Bundled into the tablet-and-routing package. [10][11] |
| Transfinder | A digital form in the driver app. [13][14] | Yes — districts digitize or build their own forms. [13][15] | Defects can trigger notification emails; routing a defect into the separate maintenance product as a work order is not documented publicly. [16] | A tablet (theirs, a third party's, or bring-your-own). [13][14] | The forms are included in the driver app at no added cost; the maintenance product is separate. [13] |
| Edulog | Delivered through a partnership with Samsara rather than an in-house module. [17] | Not documented publicly. [19][20] | Through Samsara. [17] | A tablet (Samsara-based). [17] | Not documented publicly. [19][20] |
On cost
Only one of these bills the inspection as a standalone item with its own hardware: Zonar — a per-vehicle monthly fee, plus tags on every bus, plus a scanner, plus paid installation, plus a multi-year contract. Everyone else folds it into a platform the district is already buying. UniteGPS includes it with the tablet; Samsara includes it in the driver app; Transfinder includes the forms at no added cost; Tyler bundles it into the tablet suite.
References
Refs 1–21 are vendor sources: every competitor claim traces to that company's own website. Refs 22–27 are third-party sources, used only for pricing and customer sentiment, which the vendors do not publish.
Zonar
- Zonar — EVIR Verified Inspections (solutions page). Tags placed in each vehicle zone; inspections built and customized from a pre-built checklist; results uploaded to a dashboard; defects become work orders; integrates with fleet-maintenance software. https://www.zonar.com/solutions/evir-electronic-verified-inspection-reporting/
- Zonar — Speed up inspections. Driver places a tag in each zone, scans, inspects, and uploads results for online review; timestamps flag rushed inspections. https://www.zonar.com/qa/speed-up-inspections
- Zonar — How EVIR works. Overview of the scan-verified inspection process. https://www.zonar.com/solutions/how-evir-works
- Zonar — Inspection Builder (press release, 2023). Configurable inspections: edit existing or build from scratch; modify zones and components. https://www.zonar.com/news-events/press-releases/zonar-announces-inspection-builder-an-evir-mobile-capability-to-customize-inspections-to-fleets-needs
- Zonar — EVIR vs. DVIR vs. eDVIR (blog). Photos, tagless mode, repair-complete alerts, and audit trail. https://www.zonar.com/blog/evir-vs-dvir-vs-edvir-whats-the-best-way-to-file-driver-vehicle-inspection-reports/
- Samsara — DVIR (product page). Inspection in the driver app; paperless; photo and AI accuracy checks. https://www.samsara.com/products/samsara-apps/dvir
- Samsara — DVIR Templates (help center). Custom inspection templates and defect lists per vehicle type. https://kb.samsara.com/hc/en-us/articles/360036517012-DVIR-Templates
- Samsara — Resolve a Defect in a DVIR (help center). Mechanic defect-resolution workflow. https://kb.samsara.com/hc/en-us/articles/4406022633741-Resolve-a-Defect-in-a-DVIR
- Samsara — Expanded Maintenance and DVIRs (blog). Inspection defects feed the maintenance module (work orders, parts, out-of-service). https://www.samsara.com/blog/expanded-maintenance-and-dvirs
- Tyler Technologies — Tyler Drive (product page). On-board tablet with turn-by-turn directions, ridership, timekeeping, and inspections. https://www.tylertech.com/products/tyler-drive
- Tyler Technologies — Tyler Drive product sheet. "Pre- and post-trip vehicle inspections" on a semi-rugged console tablet. https://www.tylertech.com/resources/resource-downloads/product-sheet-tyler-drive
- Tyler Technologies — Student Transportation client resources. Vehicle inspections on the tablet; separate Advanced Fleet Maintenance / Fleetvision products for the garage. Does not publicly document checklist customization to a district's form or an automatic defect-to-work-order hand-off. https://empower.tylertech.com/Transportation-Inside-Sales.html
- Transfinder — Wayfinder (solutions page). Pre-/post-inspection forms completed on a mobile device; "nearly anything on paper" can be made an electronic form; forms embedded in the driver app at no added cost. https://www.transfinder.com/solutions/Wayfinder
- Transfinder — Hardware & Telematics. Pre-/post-trip inspections delivered through a "versatile and customizable form solution" on the in-vehicle tablet. https://www.transfinder.com/solutions/Hardware_Telematics
- Transfinder — Formfinder. Districts digitize existing forms or build their own; list/yes-no questions; role-based access. https://www.transfinder.com/solutions/formfinder_form_survey_creation_geoanalytics_solution
- Transfinder — Routefinder PLUS. Inspection-defect responses can trigger notification emails. Does not document an inspection defect automatically becoming a work order in the separate maintenance product. https://www.transfinder.com/solutions/Routefinder_PLUS
- Edulog — Edulog and Samsara. "App-based DVIRs" delivered through the Edulog–Samsara partnership. https://www.edulog.com/samsara/
- Edulog — IC Bus and Edulog (press release). Lists "pre- and post-trip inspection reporting" within the Edulog/IC Bus technology mix. https://www.edulog.com/edulog-partners-with-icbus-press-release
- Edulog — Tablets and MDTs (current product page). Lists navigation, driver time & attendance, and student ridership; inspection is not mentioned. https://edulog.com/products/products-edta
- Edulog — Edulog Transportation Platform (current overview). Inspection is not listed among the driver tools. Refs 19–20 are the basis for "not documented publicly": the capability appears only on the Samsara partnership page (17) and older press releases (18). https://www.edulog.com/edulog-transportation-platform/
- UniteGPS — Company-provided. Inspection details from UniteGPS's own sales correspondence and district implementation records; not sourced to a public web page.
Publicly available information as of August 18, 2026, gathered from each vendor's own website except ref 21 (company-provided). Where a vendor page confirmed the product but not a specific detail, that detail is marked "not documented publicly" rather than asserted or denied.